Custom cosplay creation is where imagination transforms into something you can wear, pose in, and bring to life. Whether you’re recreating a beloved game character or crafting a fantasy warrior from scratch, the process is equal parts creativity, design, and hands-on work. In this guide, you’ll see exactly how a costume evolves from an idea into finished armor.
✏️ Step 1: Every Custom Cosplay Creation Starts with an Idea
The first spark always begins with a concept. Some cosplayers brainstorm using moodboards, sketches, or digital mockups. Others simply talk through the character’s world, personality, and appearance.
From the beginning, it’s important to decide on shapes, materials, and color palettes. Details like accessories, weapons, or emblems shape the final costume, so creators plan them early.
When your vision is clear, every build step becomes easier and more intentional.
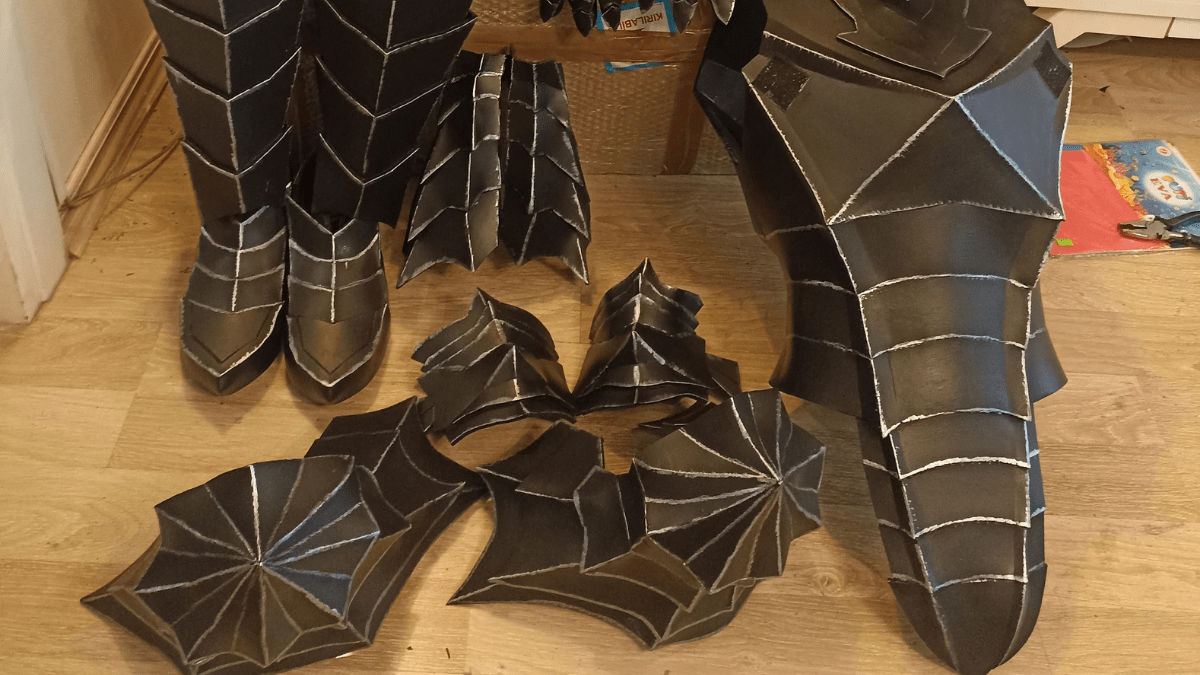
✂️ Step 2: From Patterns to Foam and Fabric
After planning, it’s time to gather materials and begin the build. Most armor sets begin with EVA foam, chosen for its flexibility, light weight, and paintability. Makers cut the foam using patterns tailored to their measurements or mannequin references.
They shape the foam with heat, attach layers with contact cement, and create clean, dimensional armor pieces. At the same time, fabric elements like cloaks or sleeves add softness and flow. Velvet, mesh, or faux leather often create the desired texture contrast.
Rather than guessing, creators frequently test and adjust parts for mobility. They want you to move freely and feel comfortable, especially during conventions or photoshoots.
🎨 Step 3: Painting and Adding Prop Details
Once the build is assembled, the real transformation begins. Cosplayers seal the foam to prep for painting, then sand and smooth each surface.
Next, they apply base colors in thin coats. They blend hues, dry brush shadows, and add metallic highlights for dimension. Some creators paint cracks, rust, or dirt to simulate realism. Each layer builds storytelling into the armor—no two pieces are alike.
Additionally, this is when accessories and effects get installed. Glowing LEDs, sculpted props, and 3D-printed parts enhance the drama of the final design.
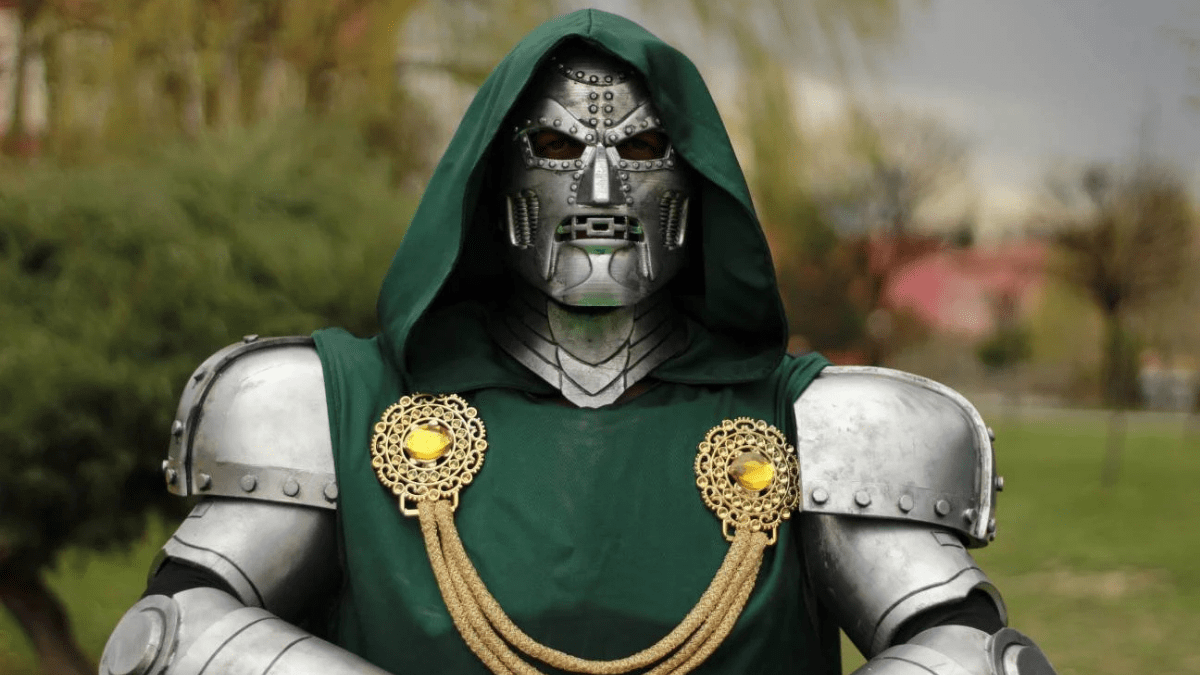
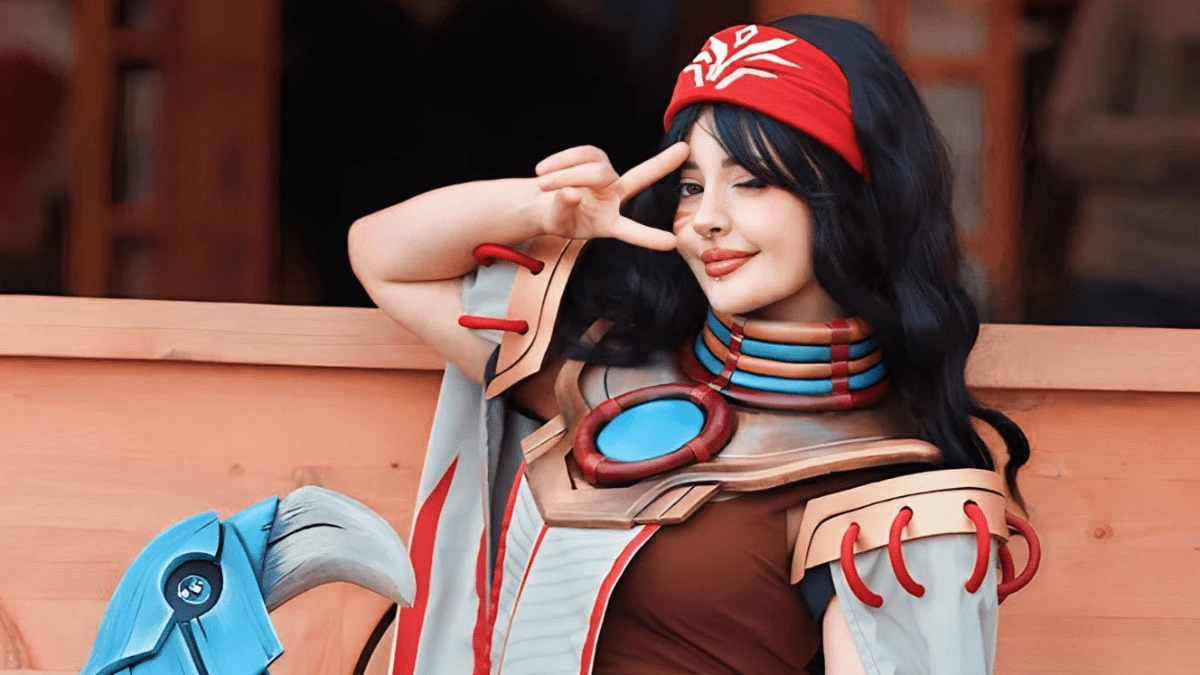
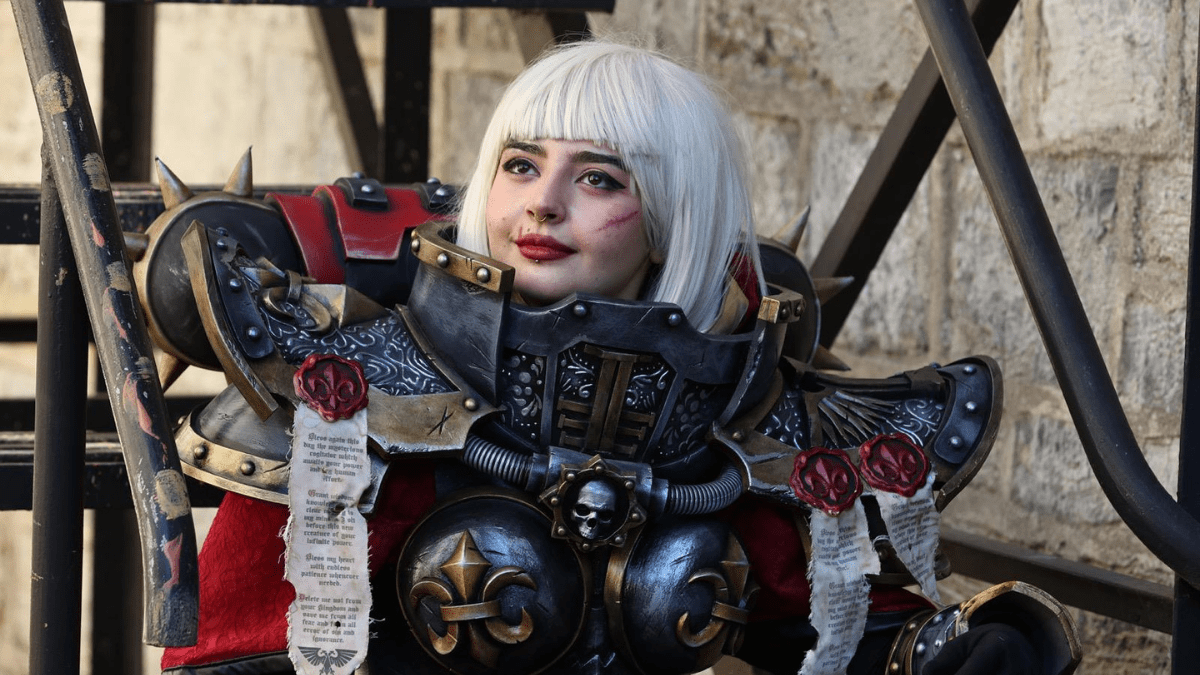
🤳 Step 4: Final Fitting and Full Character Transformation
Even the most beautiful armor needs to perform. At this stage, the creator ensures a perfect fit by testing movement and posture. Rather than gluing everything permanently, they use velcro, elastic straps, snaps, or magnets to hold sections in place.
Once everything works smoothly, it’s time to assemble the full look—wig, makeup, props, and all. Cosplayers practice posing, walk around in the full costume, and even rehearse how to carry weapons or accessories.
This is where the build truly comes to life.
💬 Final Thoughts on Custom Cosplay Creation
Now you’ve seen how custom cosplay creation blends art, performance, and passion. From first sketch to final seal, every stage reflects a cosplayer’s dedication. It’s not just a costume—it’s your own cinematic moment brought to life by your hands.
Want to wear something professionally crafted? Visit our Shop to explore EVA foam builds tailored for all-day wear.
Curious about real-world builds? Follow @hmdcosplay on Instagram for behind-the-scenes photos, process tips, and new releases from our workshop.